12/18/2003:  Arcanum
Replacing an Old Game Cartridge Battery
Borrowed liberally from an EGM article
Nothing sucks more then going to play one of your old school favorite games and finding the backup battery is as dead as Michael Jackson's career. Nintendo asserted that the battery would last for five years, and many of them lasted a great deal longer then that. However, with many NES cartridges coming up on 10 years old, you are going to see them becoming more and more unreliable. With less than twenty dollars in parts you can continue playing these classic games for years to come.
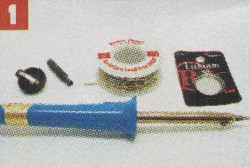
Head over to Radio Shack and pick up the following.
- Soldering Iron & Solder ($10)
- Model #CR2032 3-volt battery ($3)
- Wire
- Battery holder, part #29-1675 ($1)
- "Special" screwdriver ($3)
- Nintendo, part #22-1145
- Sega, part #22-1150
More

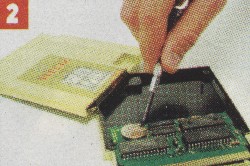
After you remove the security screw on the back of the cartridge with the screwdriver from MCM Electronics, open the cart and pry the battery free, along with its attached metal leads. Leave enough of these leads to act as solder points for the new battery holder.

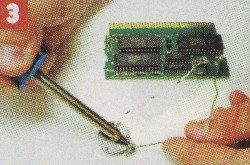
Use solder to connect a few inches of wire between the old battery leads and the empty battery holder, making sure to match up positive with positive and negative with negative. Don't solder the holder directly onto the leads as it may make it so that you can not close the cartridge.

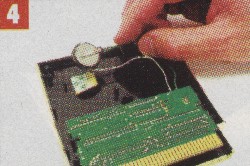
Slide the new battery into its holder and close the cartridge. Or, to keep things tidy, first attach the battery holder to the inside of the cartridge with double sided tape to keep the holder from flapping around. Close the cart, put in the screws, go save the princess.


